Advanced Insights
Wrist Locks by Stephen Pellegrini
OverviewMany Kenpo self-defense techniques utilize joint locks as a means of controlling your opponents to set up them up for a finishing technique. Adding pressure points to your joint locking techniques will make them more effective at controlling an opponent, and it will turn them into potential finishing techniques on their own. The Kenpo Encyclopedia by Ed Parker defines Locks as "moves that immobilize the joints or other body parts of your opponent, and restrain him from taking further action." Usually this is accomplished by locking a limb against a joint and inducing pain. In an effort to reduce the pain, the opponent will generally move in a predicted direction. By maintaining the lock and keeping the slack out of the hold, you can maintain control over your opponent and set him up for a finishing technique.
Locks are similar to strikes in the sense that the ultimate goal is to transfer energy into your opponent. The more energy transferred, the more effective is the lock. Application of the following general principles will increase the effectiveness of any lock. Power principles-Utilize height, width, and depth to increase energy transfer. Establish a base-In joint locking techniques this is essential. The opponent will attempt to move away from the lock to alleviate the pain. A base must be established so you can transfer more energy to the lock. It is transferred directly to the joint and not diluted across the limb connecting the joint. Removing the slack in the joint is basically a component of establishing a base. Stay inside your own gravitational sphere-For joint locking techniques to be effective, your hands and arms must remain close to your body. This performs several functions. First, it increases your musculature advantage. The closer your hands and arms are to your body, the stronger you are. Second, it increases the effectiveness of your base (see above) by adding your body to it. Third, by anchoring the lock to your body you add your body's own momentum to the energy transfer, increasing its effect. Use a mechanical advantage-In most cases your base will function as a fulcrum. The lever is the opponent's limb being locked. Use common sense here. The further from the fulcrum you apply the lock, the more effective it will be. Use two-way action-This is sometimes referred to as the "push and pull" rule. It is a fundamental principle in most jujitsu systems. It is based on the fact that your opponent cannot effectively resist being moved in two directions at once. This is especially true at the joint level. A perfect example of this principle is an arm bar. Pushing above the elbow to apply the technique will work; however, pulling on the wrist toward your hip as you simultaneously push down with the other arm is much more effective and difficult for your opponent to resist. Use complex torque-This is sometimes referred to as the "bend and twist" rule. This principle is a special case of the two-way action rule. By bending and twisting the joint, you are moving it in two directions at once, making it very difficult for your opponent to resist. In addition, bending and twisting when applied correctly will often activate pressure points that control the joint.
Activation of pressure points will often release the joint, making it susceptible to dislocation and multiplying the pain factor. Since this is a response of the opponent's involuntarily nervous system, it is extremely difficult to resist. Users should exercise caution and restraint when applying these techniques.
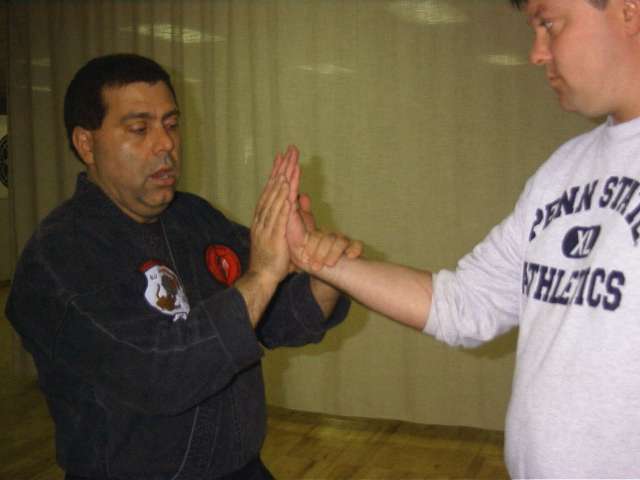
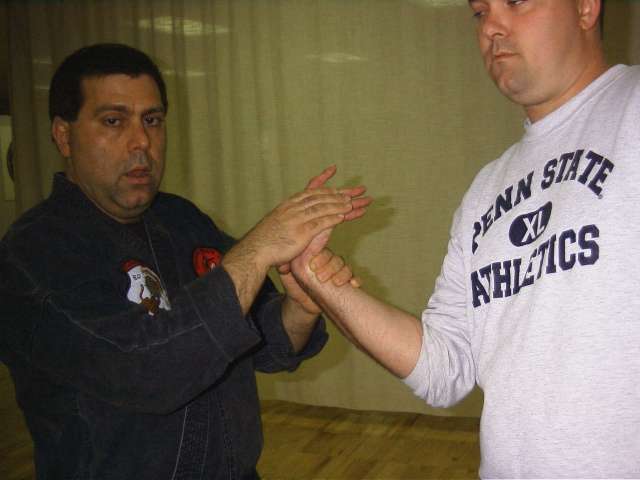
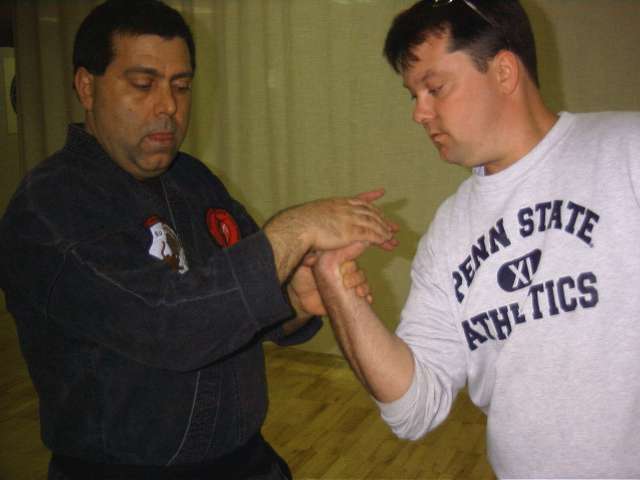
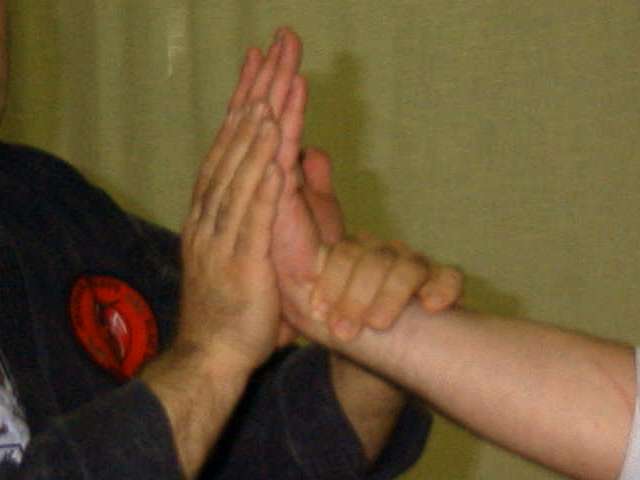
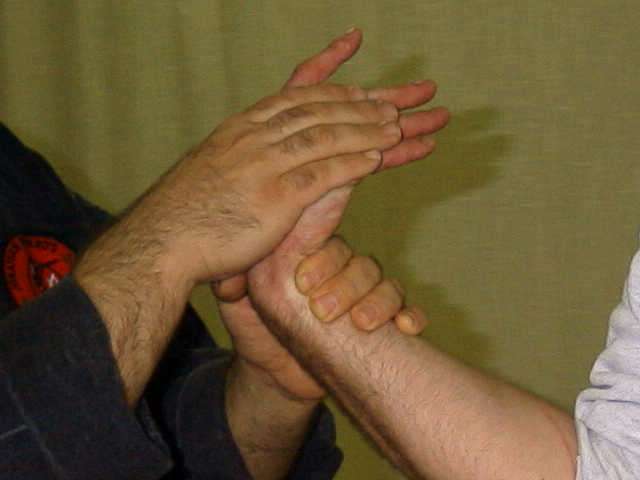
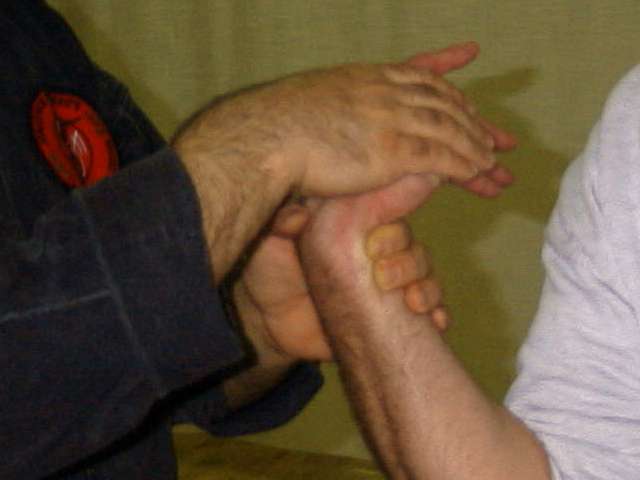
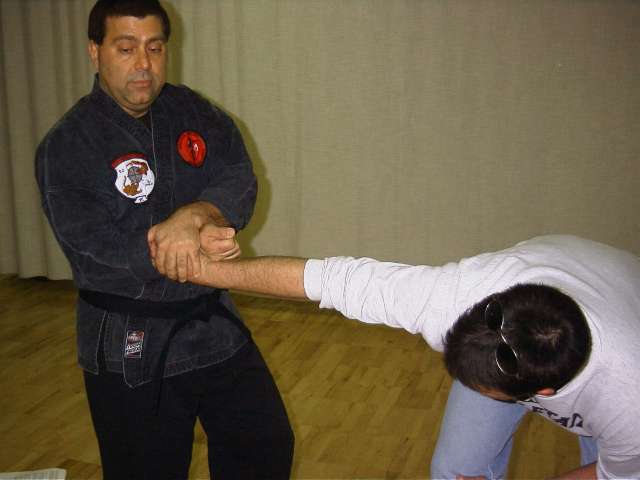
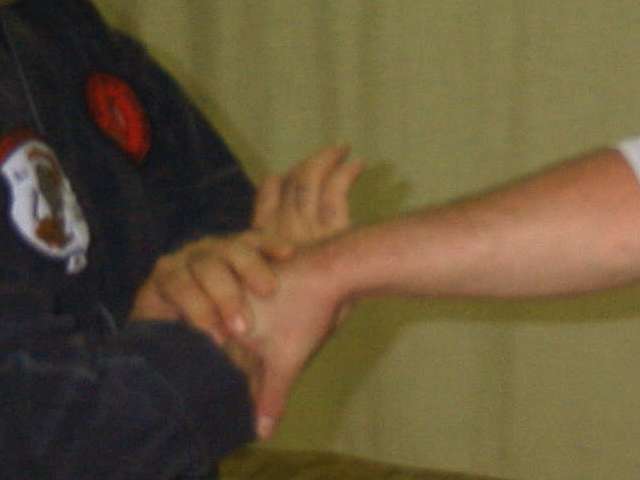
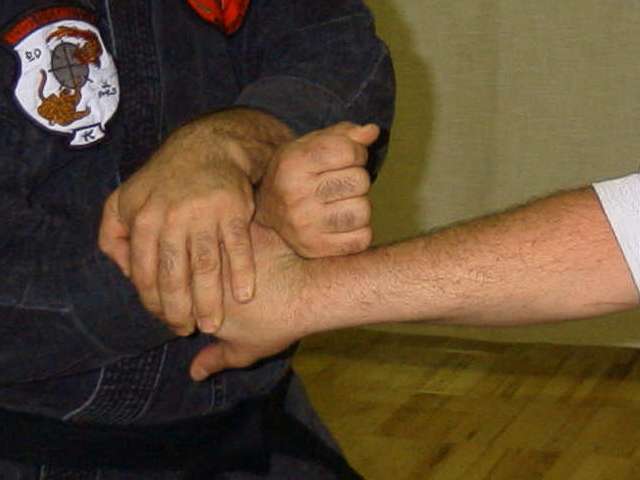
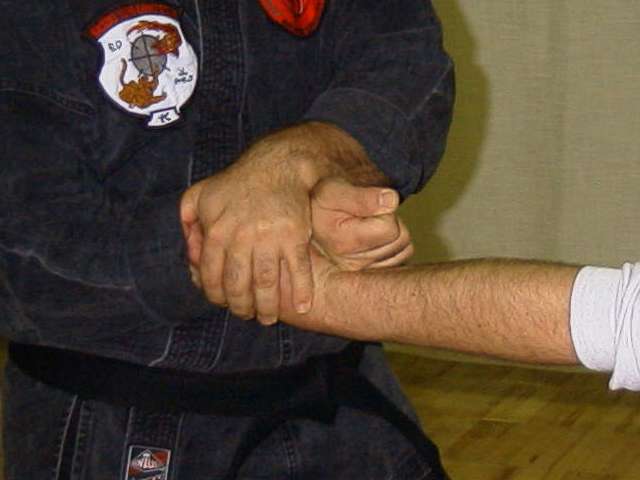
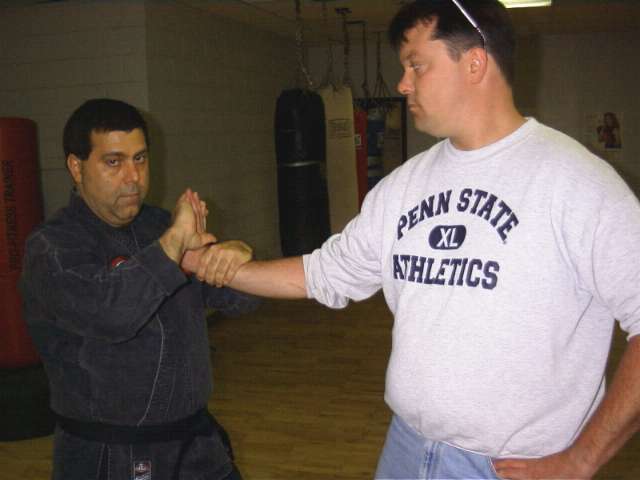
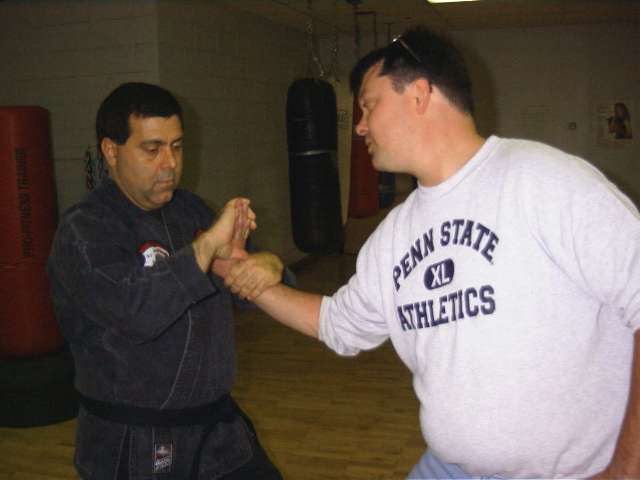
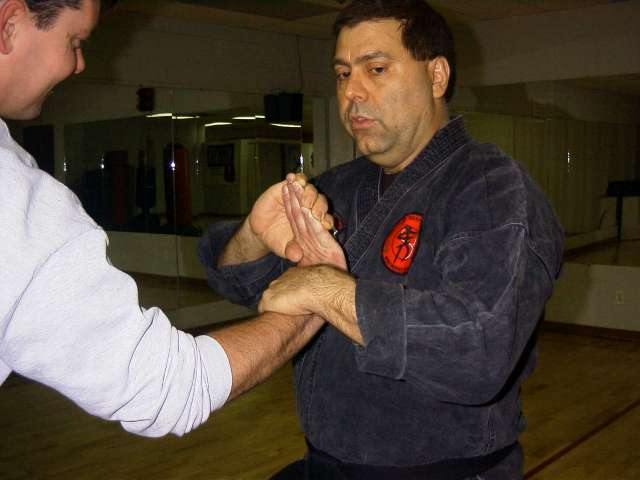
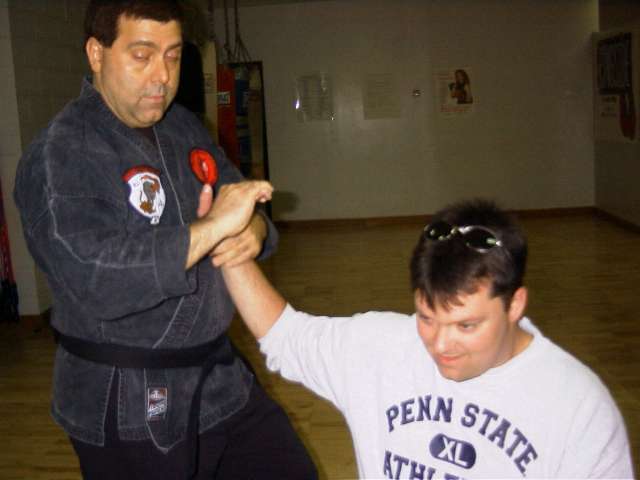
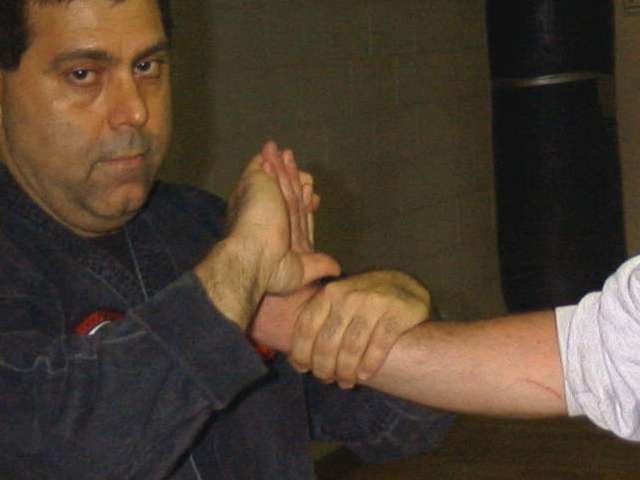
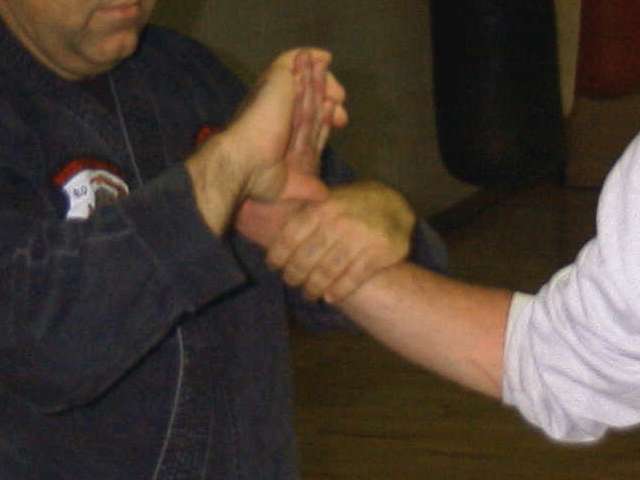
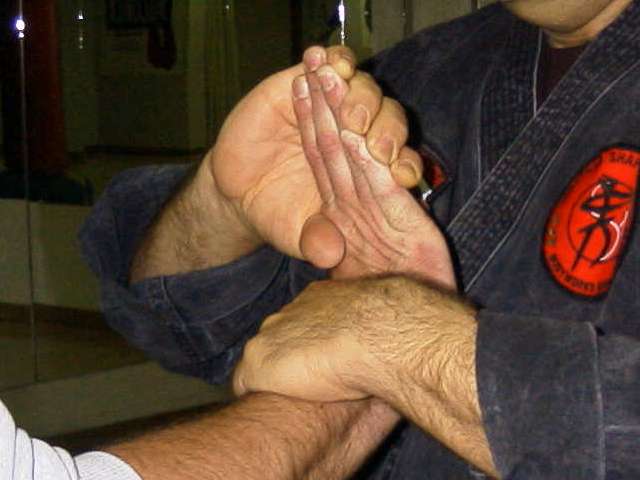
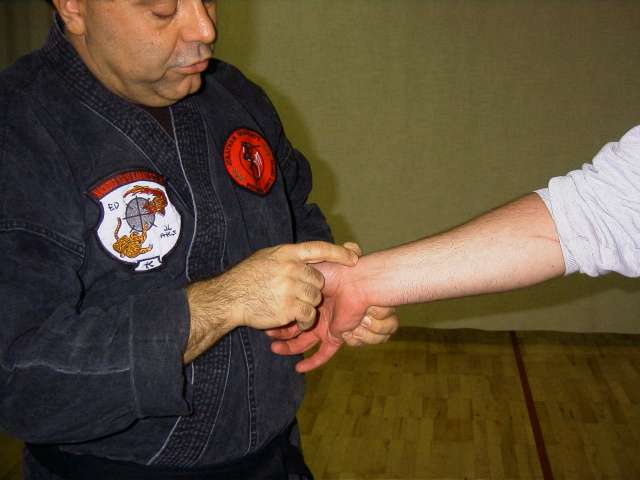
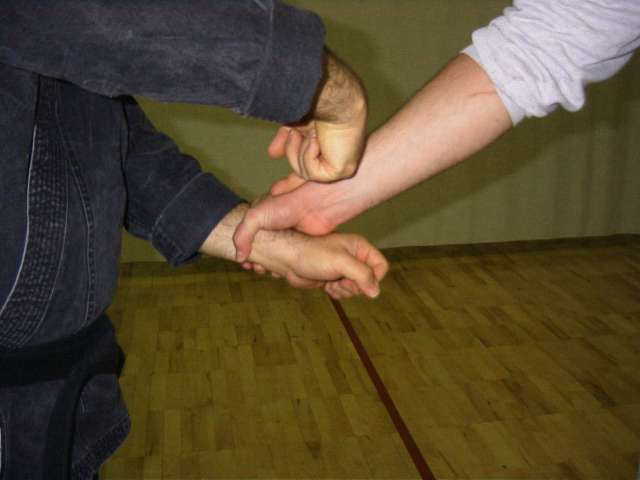
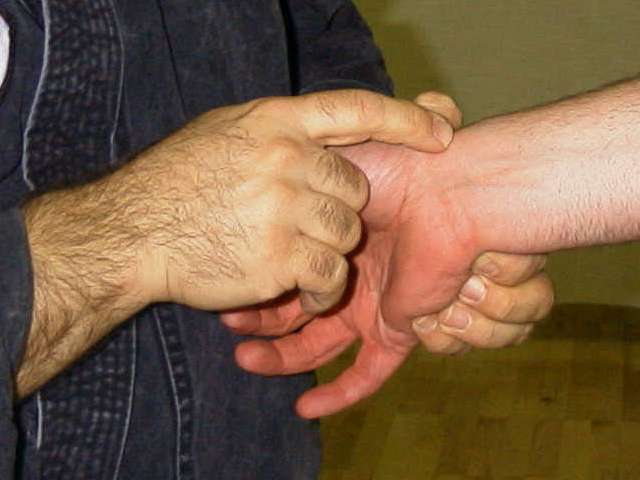
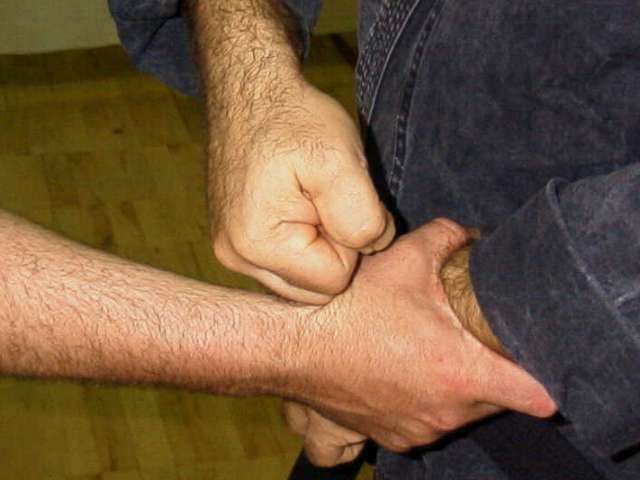
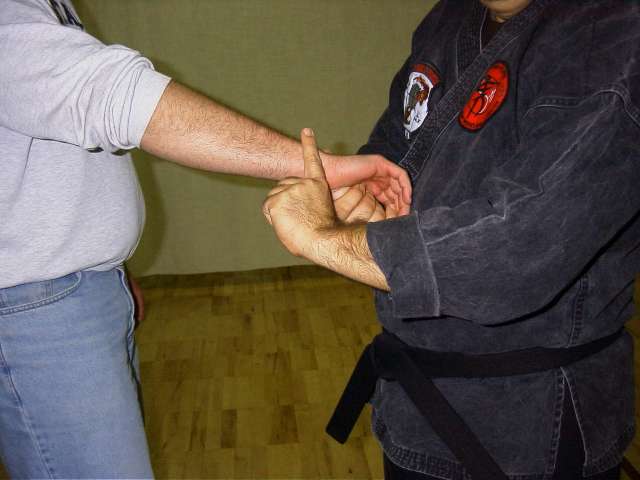
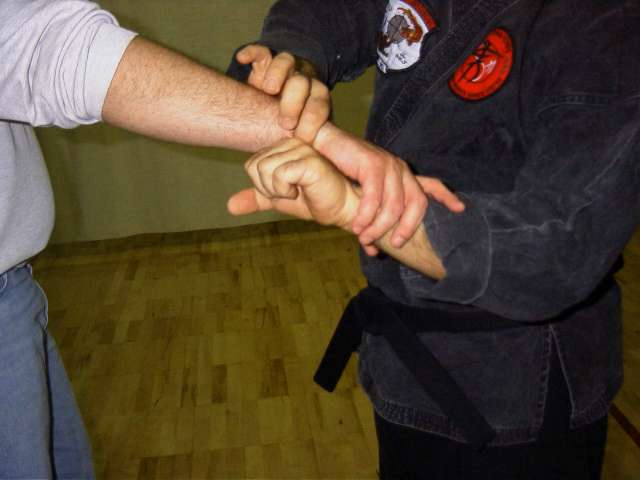
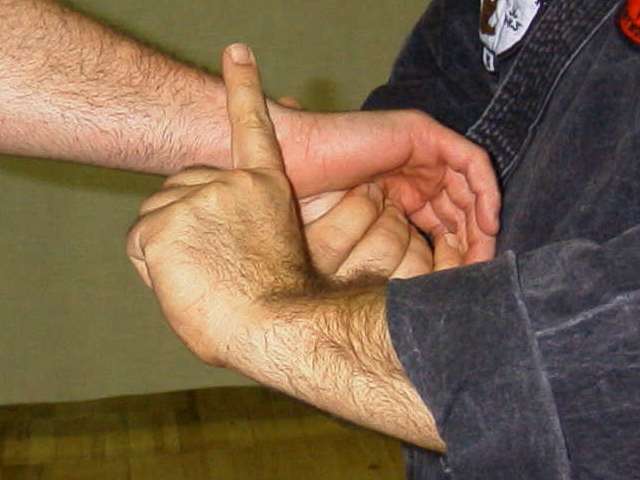
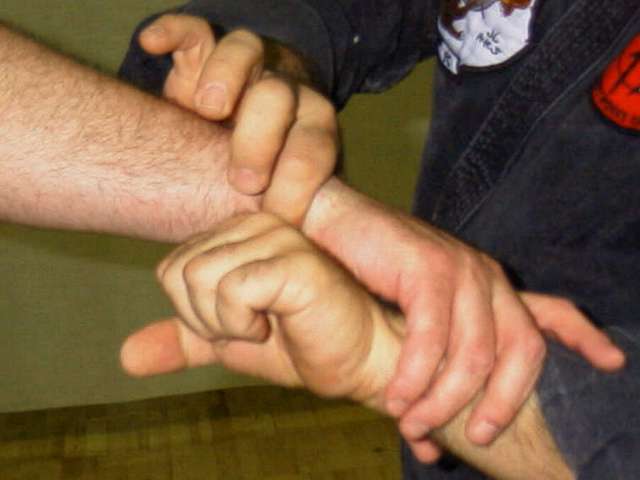
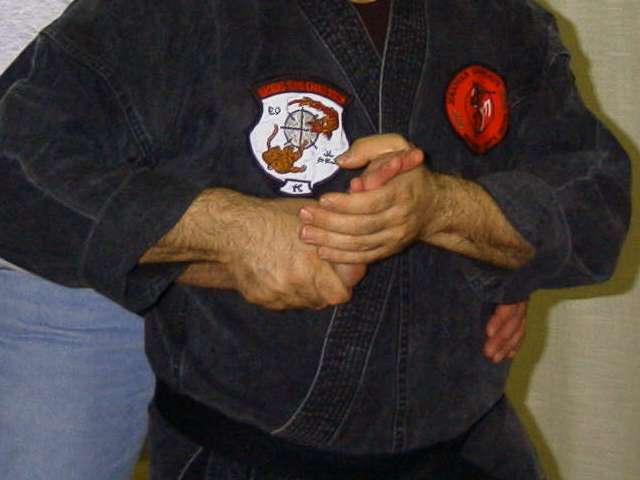
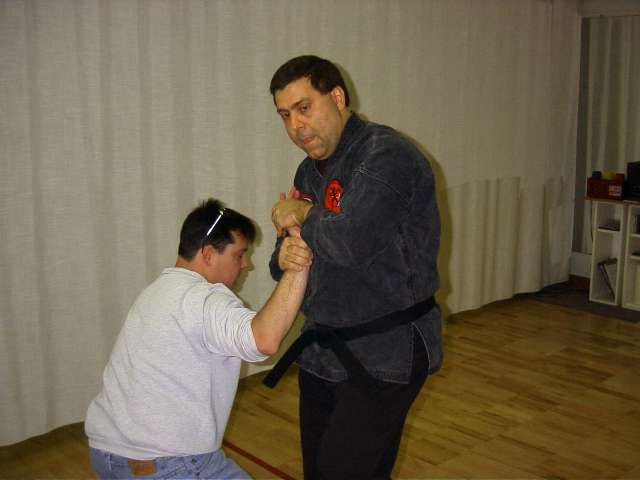
How to execute a Palm TurnFrom a natural stance, raise your right hand up, palm facing out, fingers pointed straight up, about 12-18 inches from the right shoulder. The fingers of the right hand should be bent backward toward your right shoulder, then twisted in toward your left shoulder and down. Squeezing the little finger and index finger behind the other two fingers compounds this technique and makes it harder for the opponent to resist. To apply the technique, face your training partner. As he raises his right hand palm facing toward you, reach out and grasp his right wrist with your left hand. Next, bring your right hand palm-to-palm with his hand, but rotate your hand 90 degrees so that your fingers are pointed directly to your left (9 o'clock). Point your right thumb down (6 o'clock). With your left hand squeeze his wrist and rotate your right hand counterclockwise (activating wrist pressure points). With your right hand squeeze his fingers together pushing the little finger and index finger back behind the other fingers (activating finger pressure points). Pull his wrist toward your body (establishing a base) with your left hand while you push and bend back his fingers with your left hand (push-pull). Finally, as the fingers bend back, twist all the fingers down and to your right (complex torque). If done correctly your opponent's knee opposite the hand being manipulated may give out slightly causing him to drop and effectively controlling his height, width, and depth.
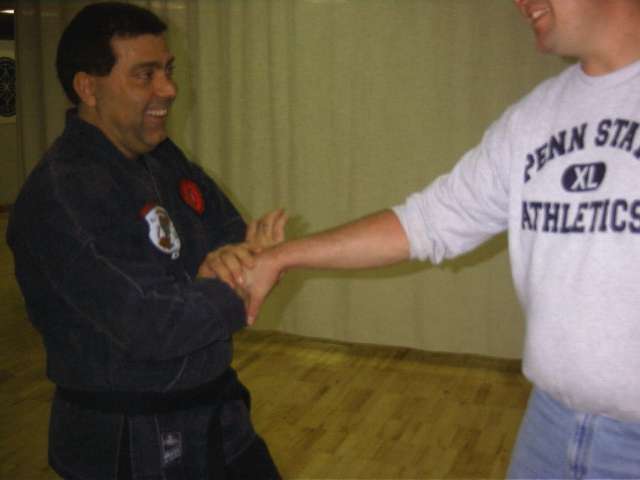
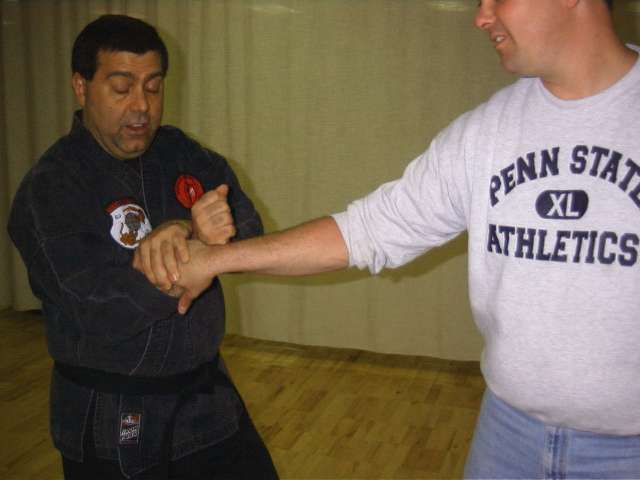
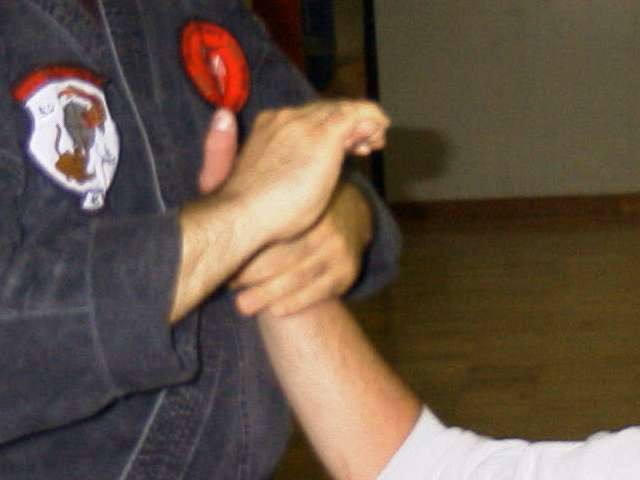
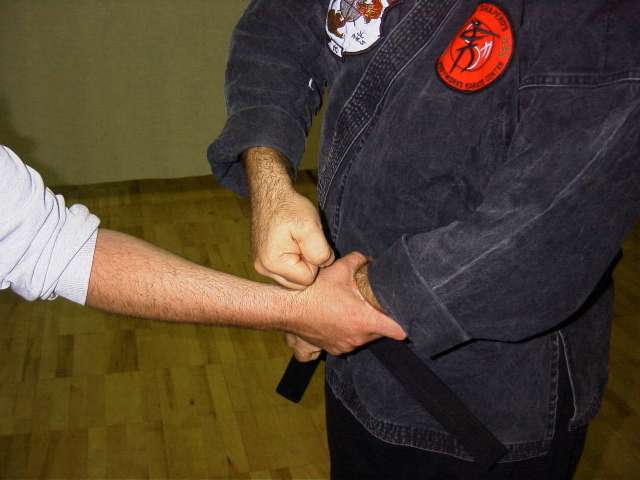
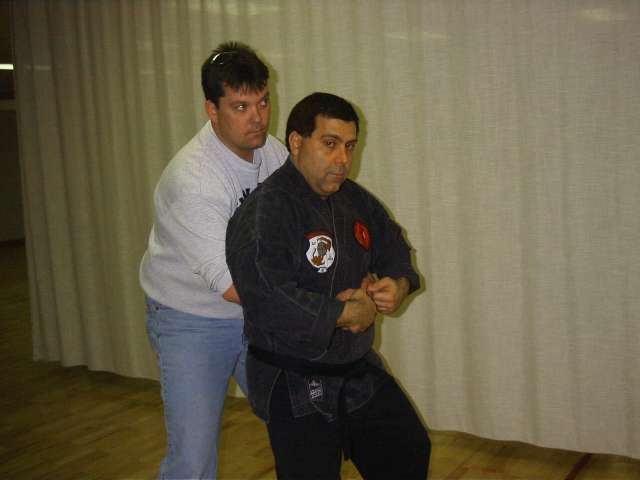
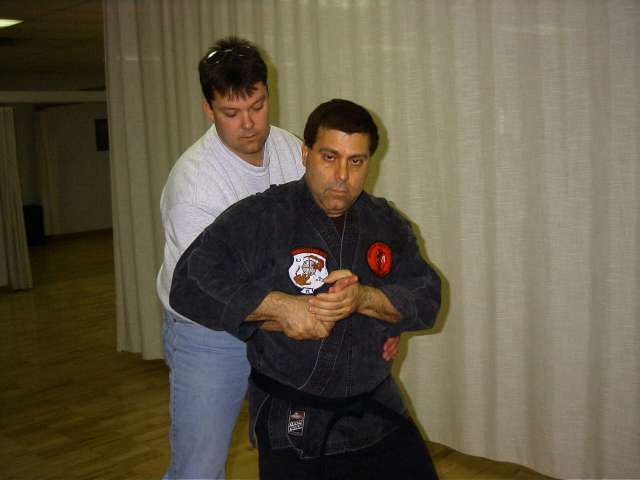
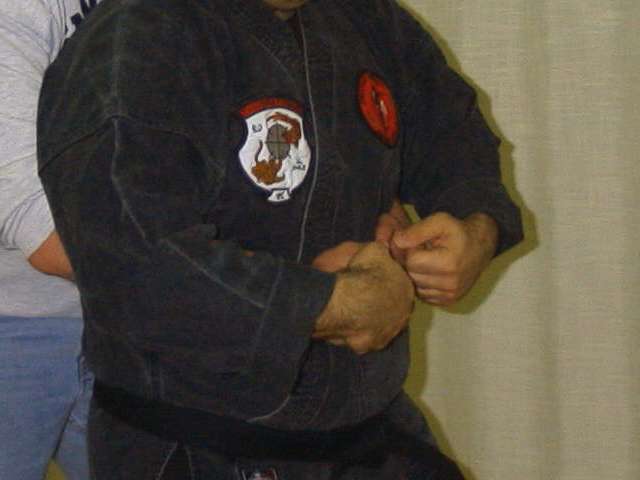
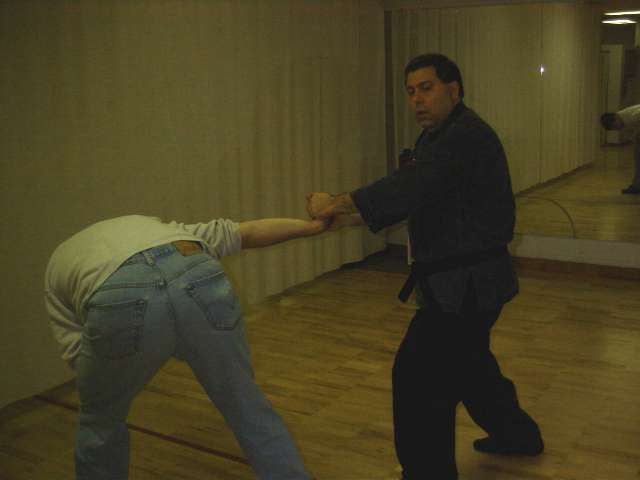
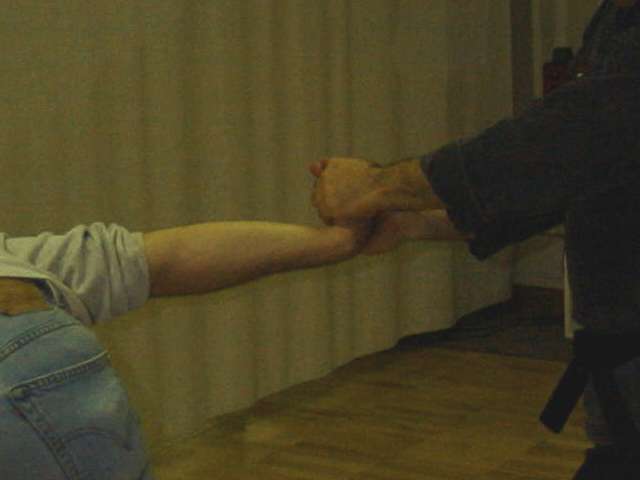
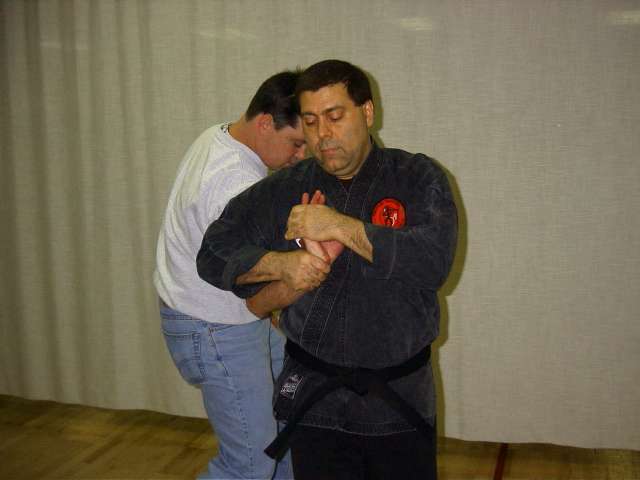
Applying a Palm Turn to Spiraling Wrist (a.k.a. Spiraling Twig)The attack in Spiraling Wrist is a rear bear hug with your arms free. At the end of Step 1 in Spiraling Wrist the technique calls for "grabbing your opponent's right hand with your right hand and left hand with thumbs on top and fingers inside your opponent's palm." Here is where you apply the Palm Turn as an alternate finish.
|