Overview
Anchoring is the term given to keeping or moving the elbow in towards
the body to increase the power of a strike or to improve our ability to
manipulate the opponent. Anchoring gives us a leveraging advantage by
adding the mass of our body to the strength of our arm.
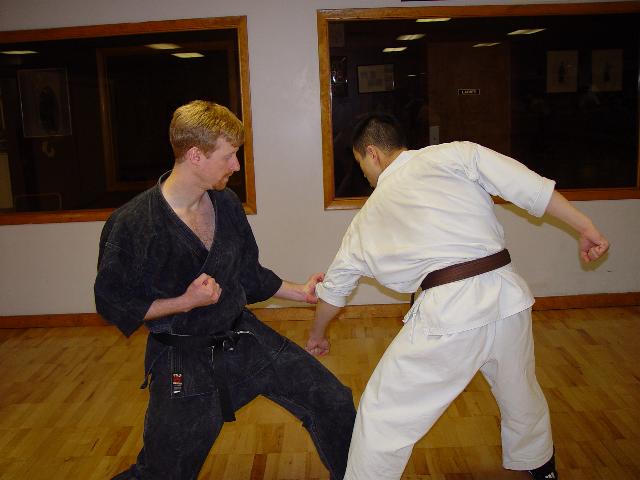
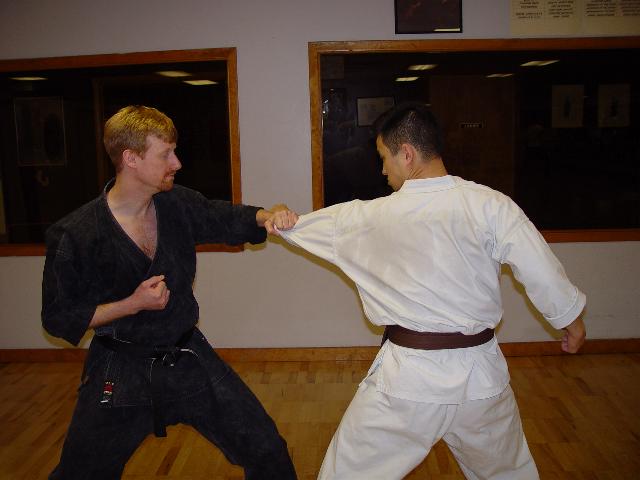
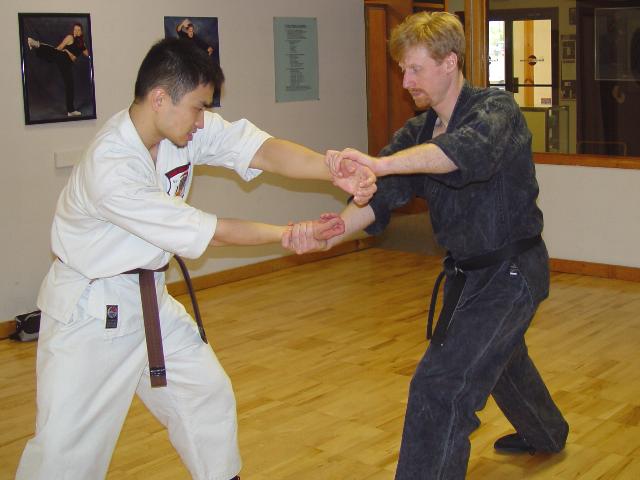
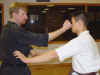
From Out-of-Range
From an out-of-range position, anchoring can be used to pull an
opponent off balance while remaining in a position to attack. This
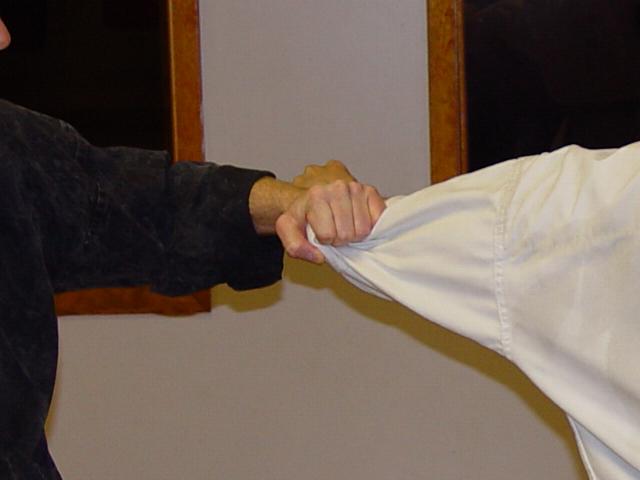
generally works best by grabbing material, such as a sleeve, but to a
lesser extent it also works by grabbing the arm and sliding down to the
wrist.
| The key to
this move is to use the anchoring of the elbow and a slight settling of
the body weight alone to pull the opponent out of position.
|
|
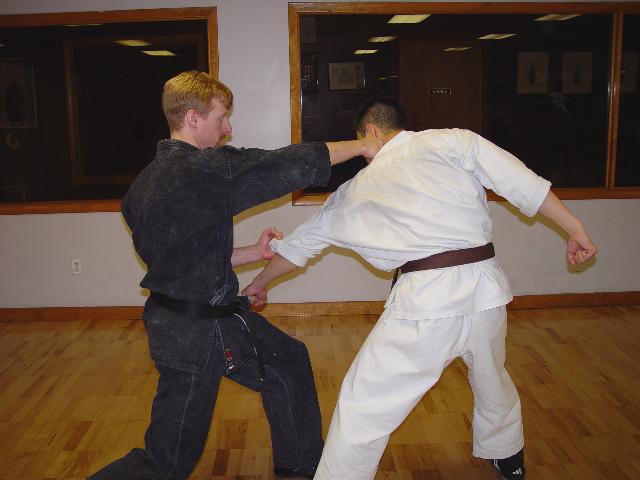
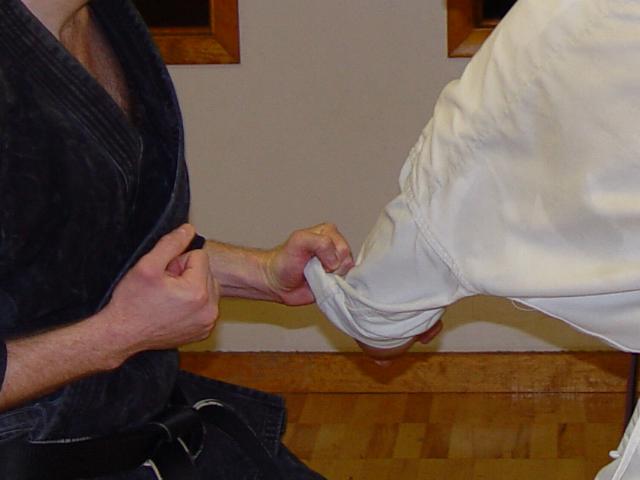
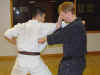
One common mistake associated with this maneuver is
failing to anchor the elbow (by pulling sideways), which
significantly reduces the force of the pull.
|
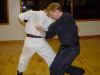
| Another mistake is rotating the body with the grab,
which leaves the torque unavailable for the most natural follow-up
strike, the straight right hand punch.
|
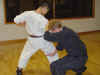
From Within Range
But generally anchoring occurs once within the range of an opponent,
and is usually employed in the obscure or point-of-origin type motion we
practice in our self-defense techniques and advanced forms. Strikes that
utilize anchoring generally use the movement of the body mass alone to
generate their power, with little or no independent movement of the
attacking arm.
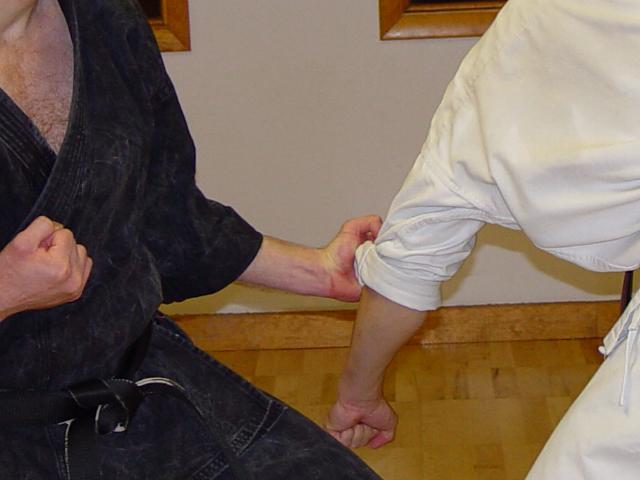
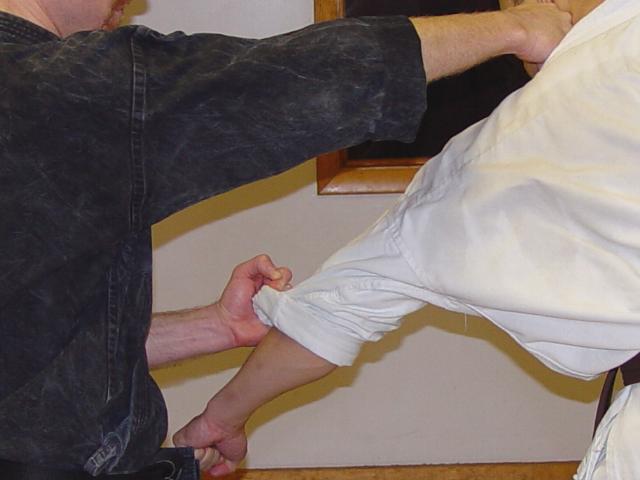
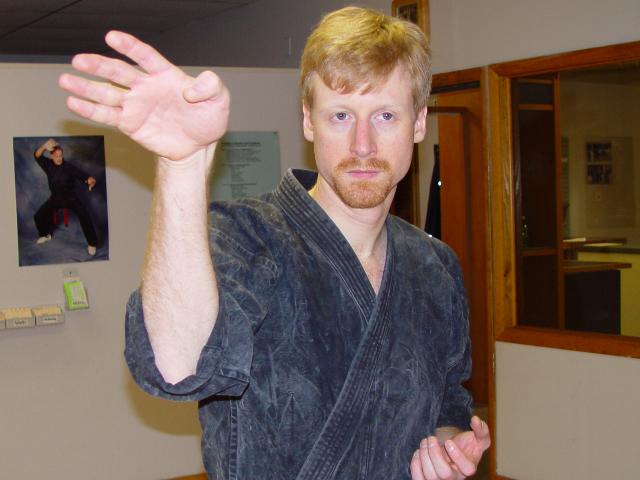
One of the most common strikes of this type is the
short-range knife hand (often with a bent wrist to create a
hooking effect) found in the technique, Flashing
Wings.
|
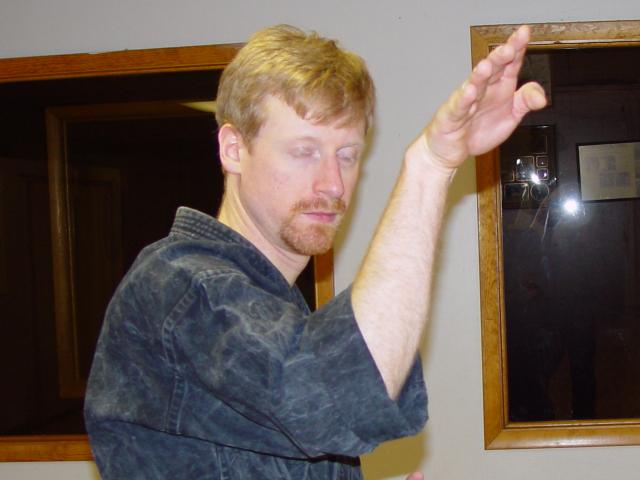
The following two pictures show, from
different angles, the proper hand position for this strike.
(Editor's note: with years of practice, you too can properly
form this hand strike while asleep or otherwise just
recovering, as illustrated below.)
|
|
The next three pictures show that same hand strike,
along with the proper anchoring,
from three different angles and from within the context of Flashing Wings.
|
|
The next set of pictures illustrates the full Flashing Wings
technique with the third frame showing the anchoring.
|
|
Watch Video
|
|
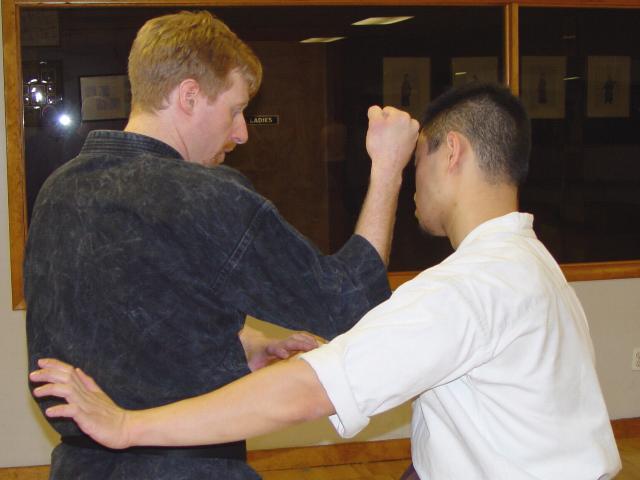
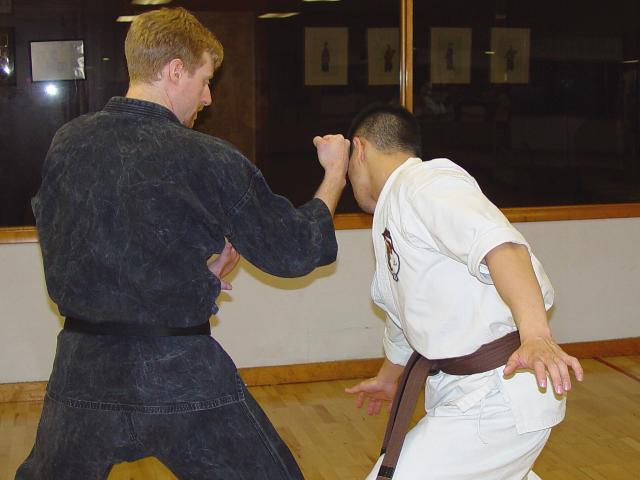
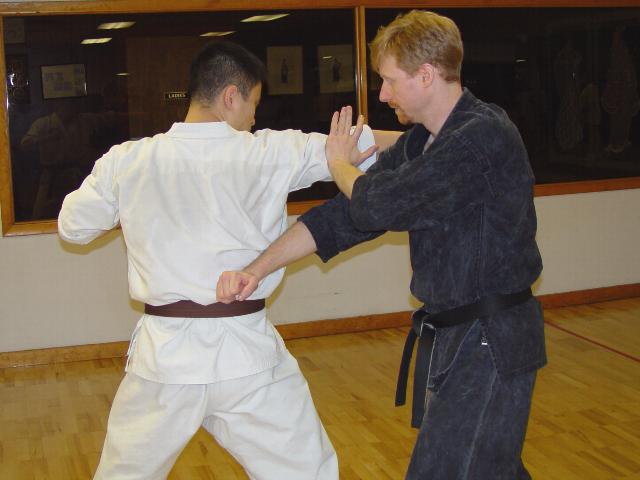
Another set of strikes that can utilize
anchoring to create a great deal of power over a short distance is
the hammer fist/back knuckle combination found in Hooking
Wings.
The first two pictures below illustrate the
incorrect and correct anchoring.
Incorrect
 |
Correct
 |
|
| These next five pictures show the full
Hooking Wings sequence (with proper anchoring illustrated
in the third frame).
|
|
Watch Video
|
|
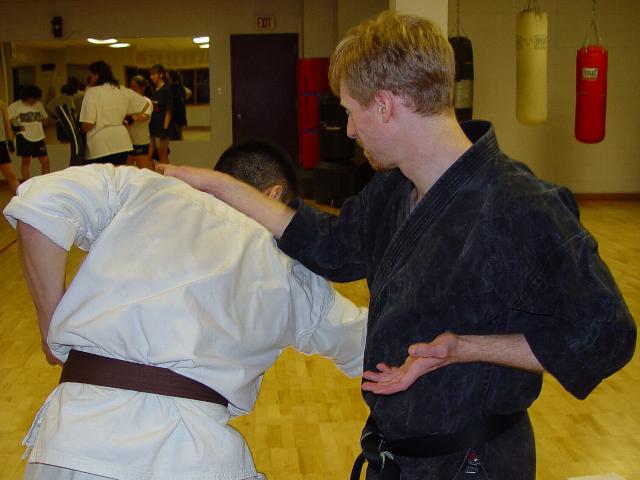
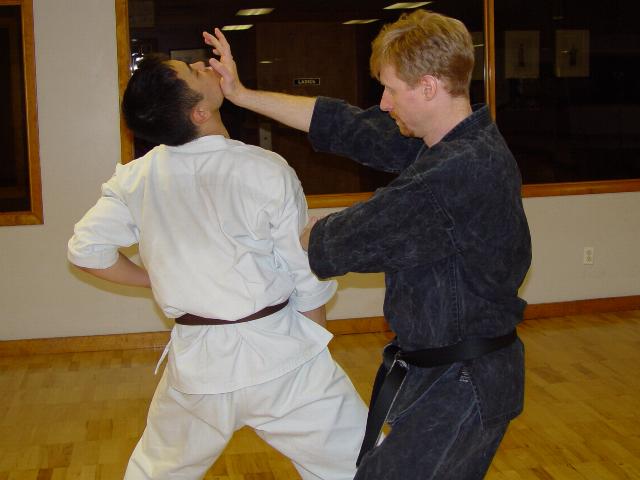
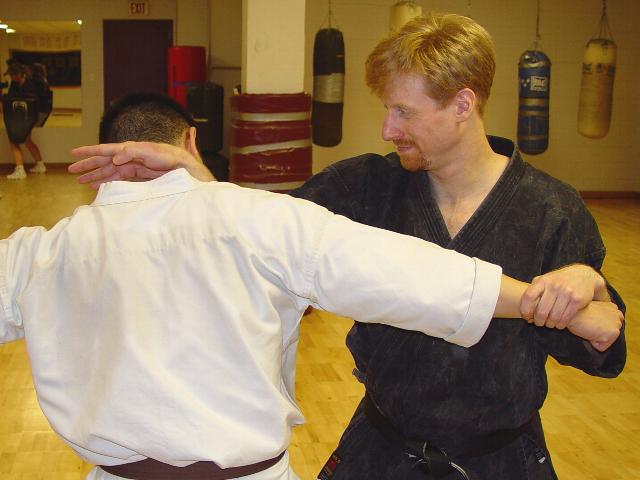
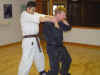
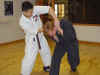
The forearm strike to the kidney found in Shield
and Mace is also most effective when the elbow is anchored and
the force of the strike is generated by settling the body's
weight.
The first row below (5 pictures) show the
proper execution of Shield and Mace, with the second frame
showing the anchored strike. Below that second picture is
an example of incorrect anchoring.
 |
 |
 |
 |
 |
Without anchoring
==> |
 |
Without anchoring
<== |
|
|
|
| Watch Video |
|
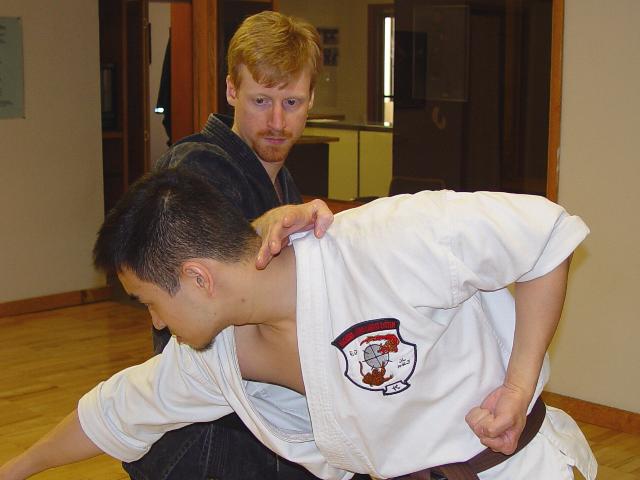
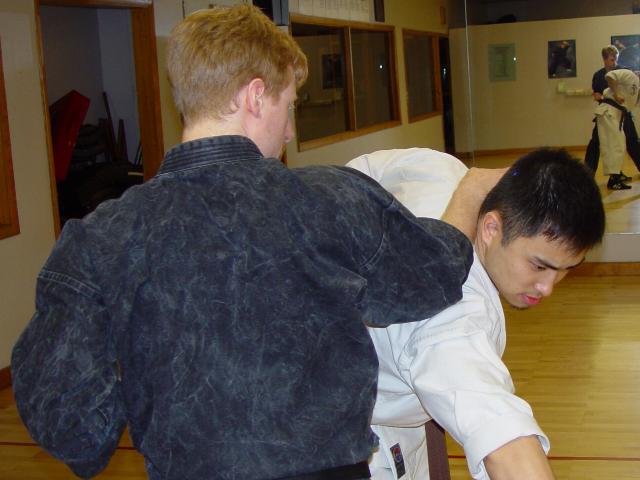
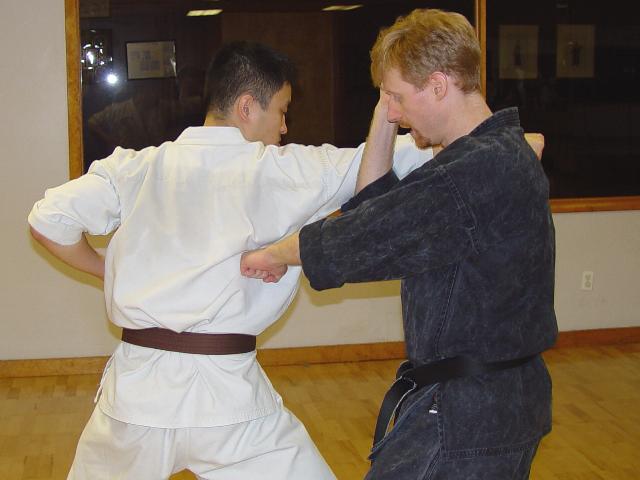
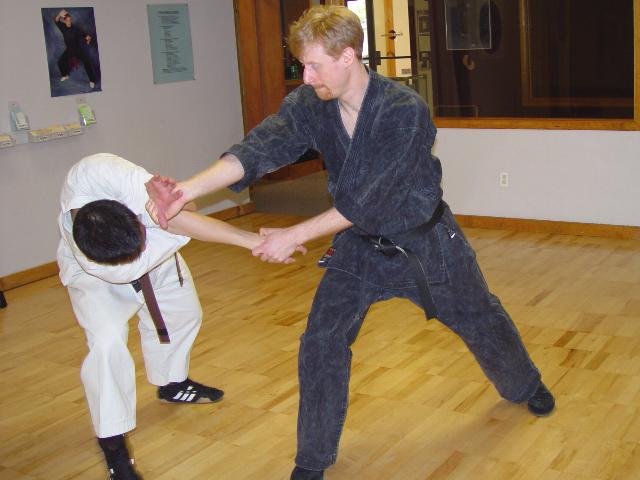
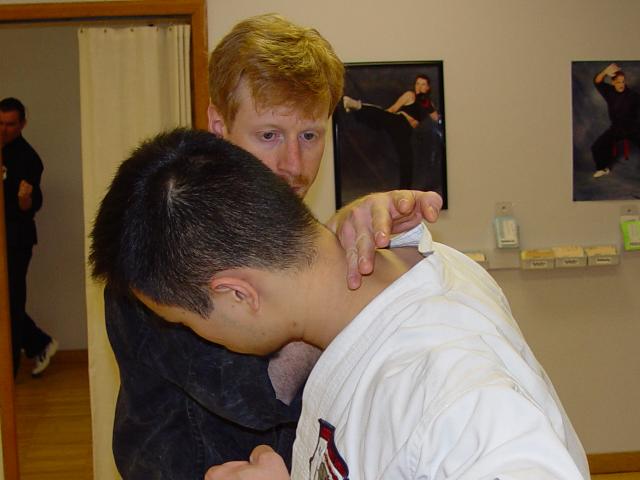
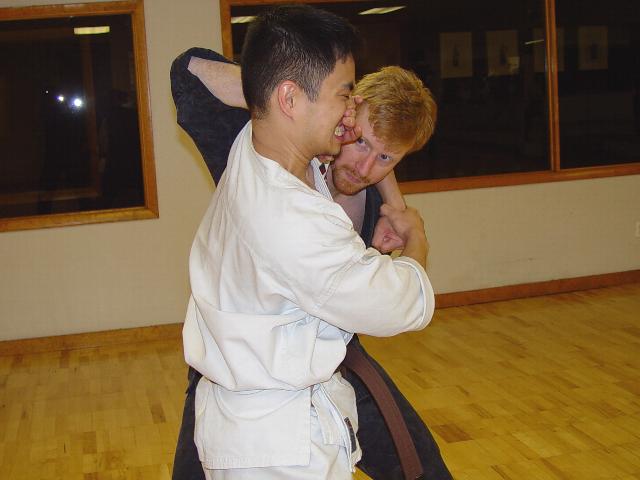
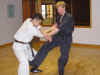
The Cross
of Destruction technique also contains an example of the use of
anchoring to manipulate an opponent. If the right elbow remains
anchored while ducking under the opponent's choking arms (after
the initial step and grab to the opponent's wrists), the body
weight of the defender is generally sufficient to pull the
attacker off balance, leaving him vulnerable to the follow-up
strike. Failing to anchor the elbow here generally leaves the
attacker in a stable position and hence able to pull free from the
counter-grab.
The first row below (5 pictures) show the
proper execution of Cross of Destruction, with the third
frame showing the anchored strike. Below that third
picture is an example of incorrect anchoring.
 |
 |
 |
 |
 |
| |
Without anchoring
==> |
 |
Without anchoring
<== |
|
|
| Watch Video |
|
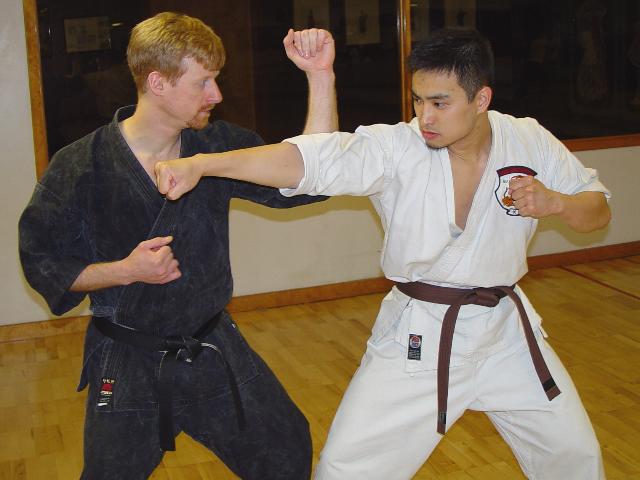
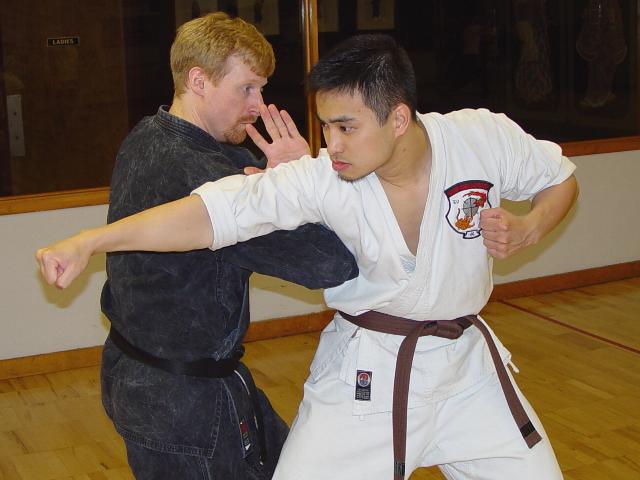
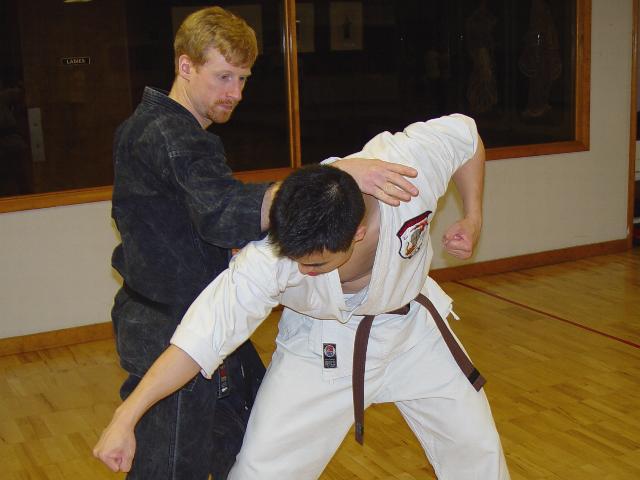
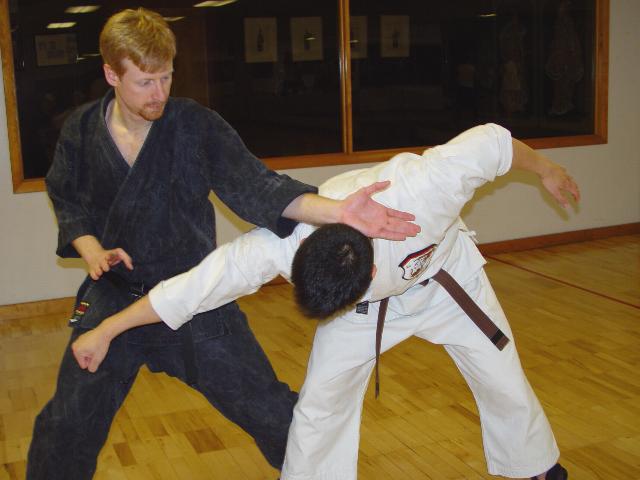
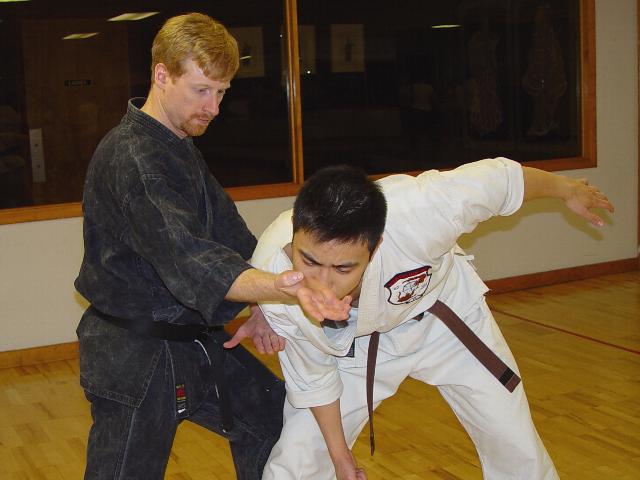
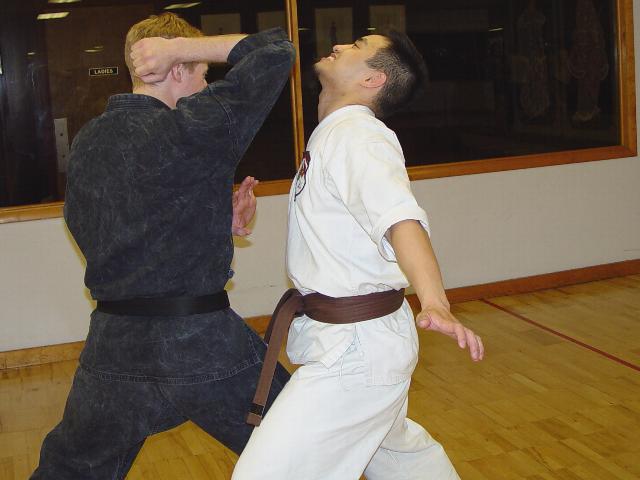
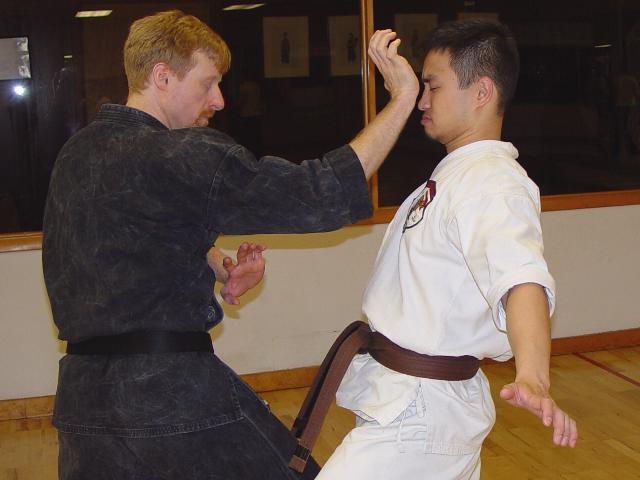
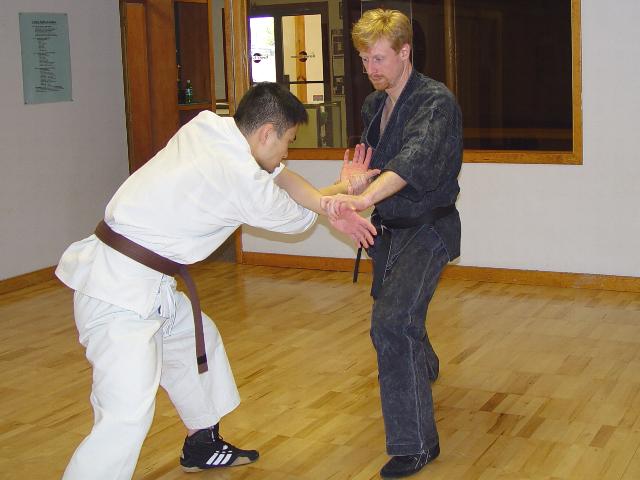
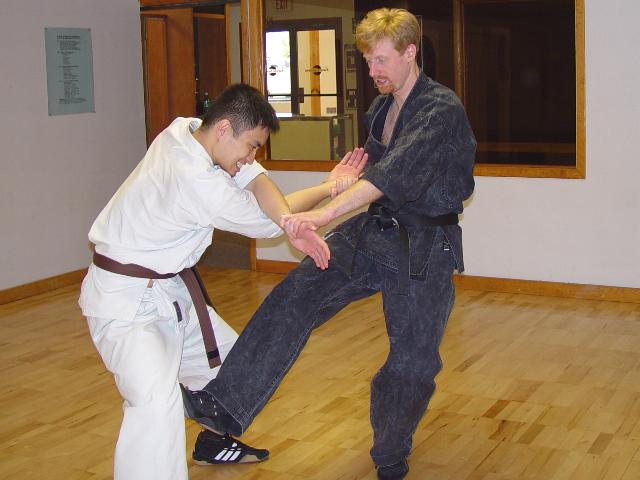
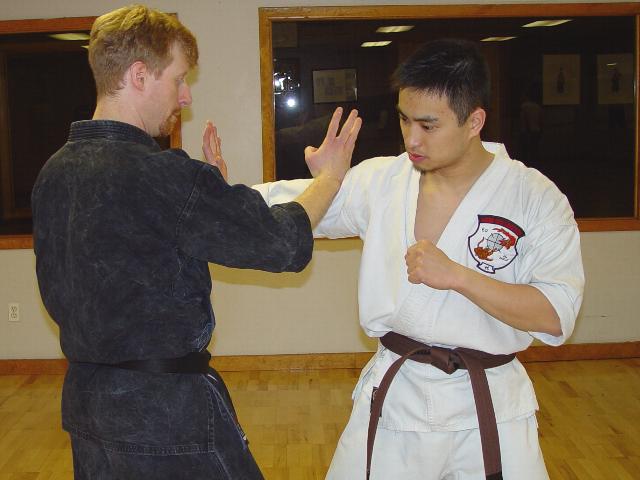
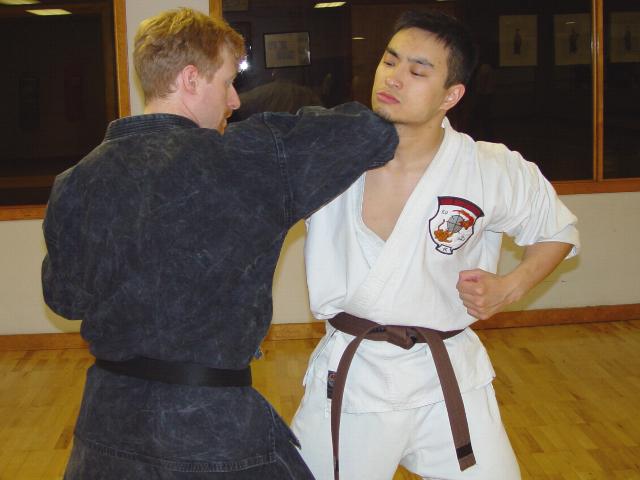
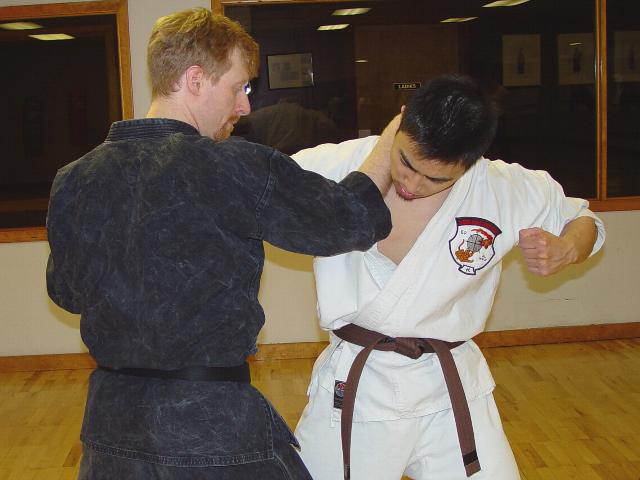
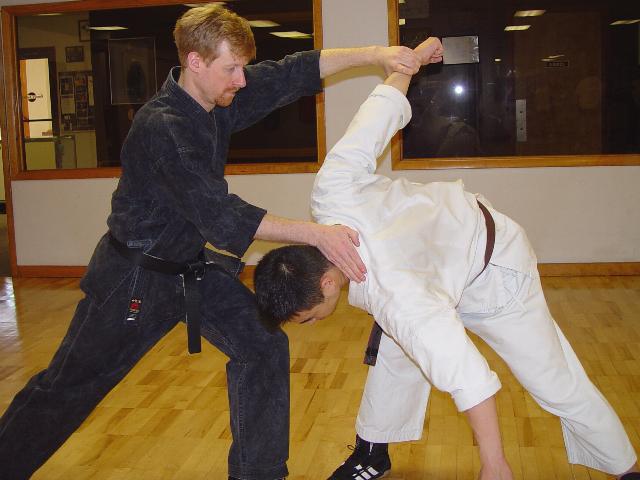
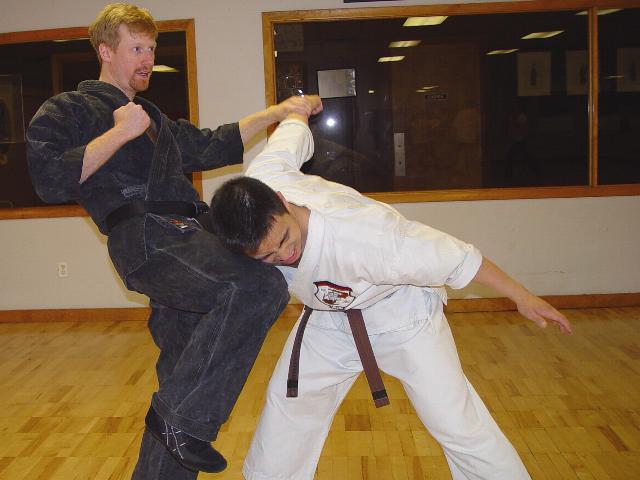
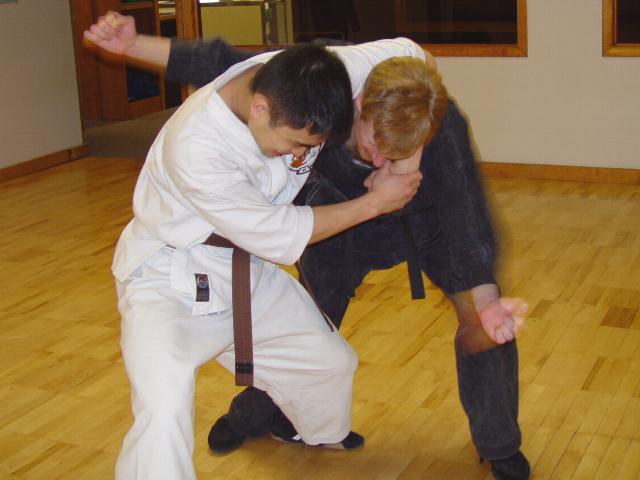
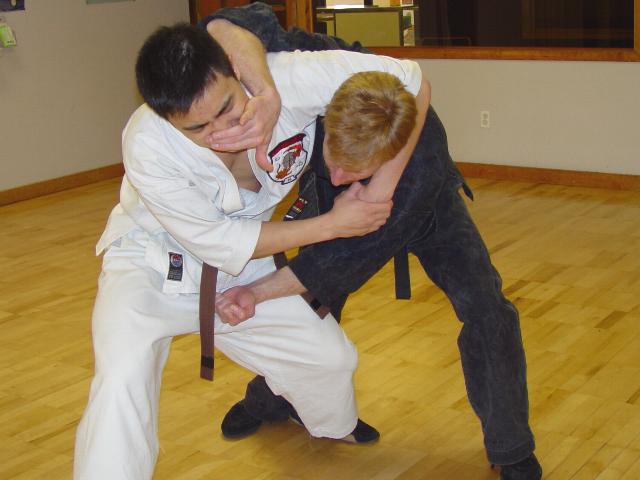
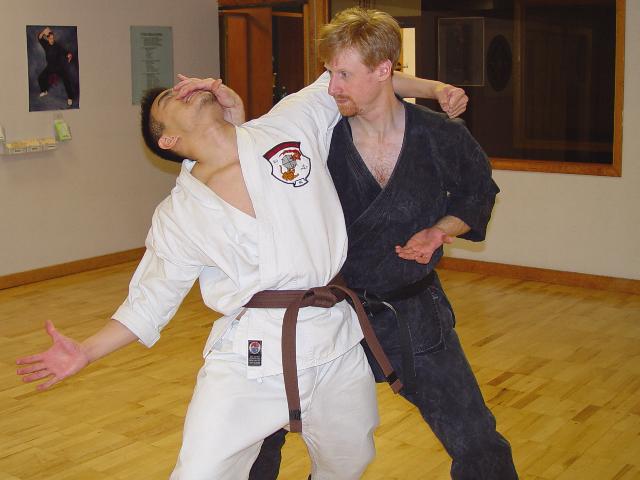
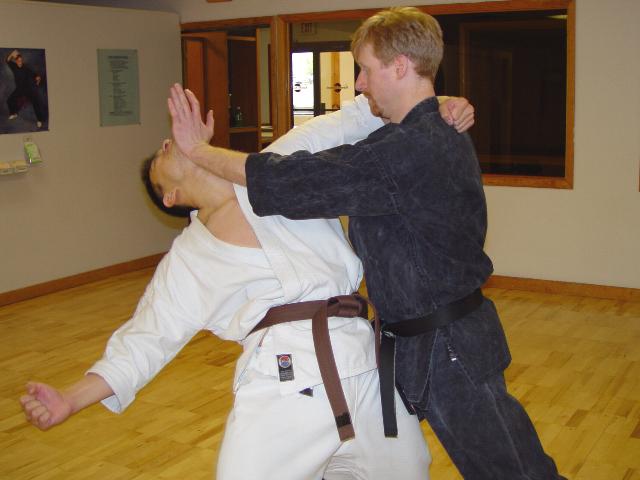
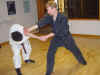
| As a final example, the technique Defying
the Storm shows the use of anchoring to both strike and
manipulate the opponent. The right knife hand after the initial
block and rising elbow is done with an anchored elbow in order to
fit the relatively close target. Leaving the elbow anchored with
the step back (and push of the left hand) uses the defender's body
mass to bend the attacker forward into the the defender's rising
knee.
|
Technically, this is different from
anchoring, but in Grip of
Death, we use a related principal called fulcruming, which
similarly helps add power to our arm's action.
|
|